![Thomas' [insert something catchy] Blog](https://blogger.googleusercontent.com/img/a/AVvXsEhS8GpCgv6XrthlM6yk83QRMLhw3N-t-T7QC5e2xkElAyFOdKxrHBtlBm1JAcXwJ8yoREOLZIQVGzlBJYcGzbpN5MoJylSohJgXI2qWTeIuLfOupK48G8FVeH5FYa-orAALT8J3sBSWb75EiTS1xCi-ik4uhVgX9ouwjGw1KTmk2lPi258tyzaNU9vu=s800)
This is a very shallow guide to be read in conjunction with Azure AD Connect: Your first step towards an Hybrid Windows Environment. It was originally part of that post but it started getting a bit long so I decided to throw it into a post of its own.
If you’re new to Windows sysadmin’ing and learning everything from the ground up, then I suggest checking out some of my other posts with the Basics tag where I cover stuff like setting up a Windows 10 VM; A Basic Introduction to Intune / Microsoft Endpoint Manager; and How to set up Autopilot.
Now this post is meant to be temporary as I plan on doing a proper guide on setting up a labs using the fantastic PS-AutoLab module but But like they say... "NOTHING IS MORE PERMANENT THAN A TEMPORARY SOLIUTION" which is painfully true in IT.
So, until I get around to that… follow the guide I wrote about setting up a Windows 10 VM but grab a Windows Server ISO instead.
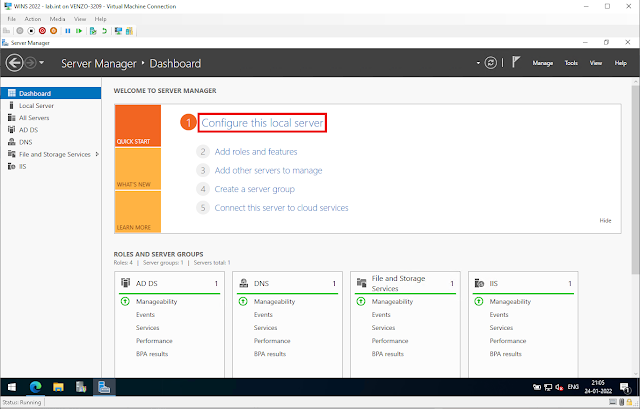
Once it’s installed, Server Manager will open automatically the when you login, Click on Configure this local server:
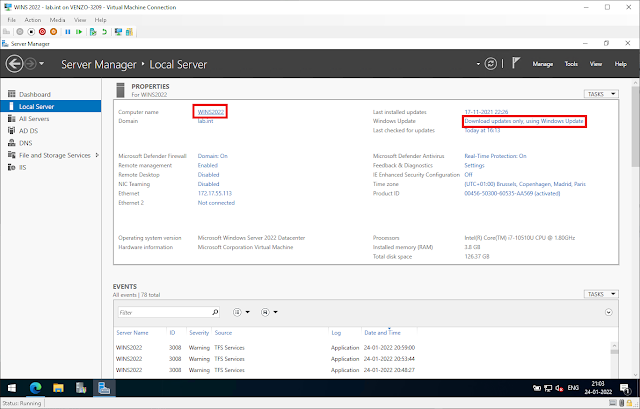
Apply whatever available updates are available and give your VM a decent name while you're at it.
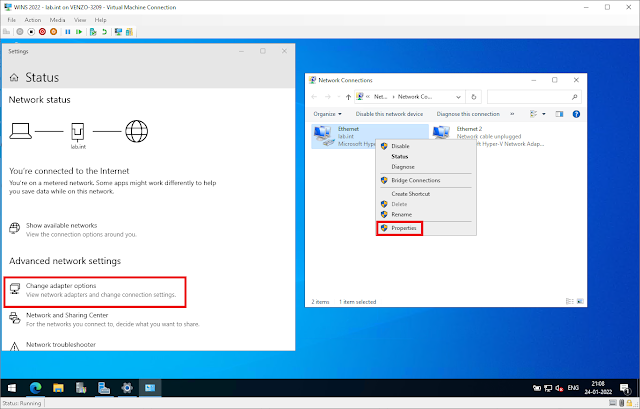
After rebooting, you'll need to assign your Windows server a static IP.before installing the DNS service.
So start by right clicking on the Start button > Selecting Network Conditions > Change Adapter Settings > Right Clicking on your NIC > Properties
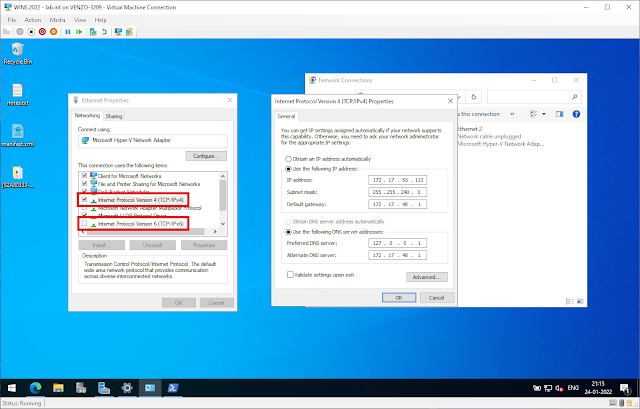
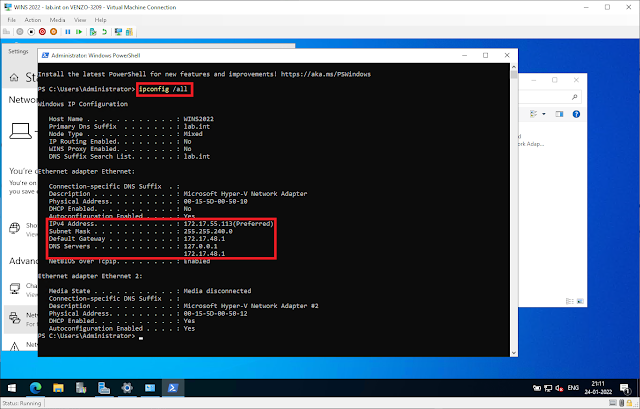
If you're not sure what IP addresses to use, open a CMD prompt and run´ipconfig /all
Note: The following print-out is from an ADDC I've already set up, which is why the VM is already domain joined to lab.int and has 127.0.0.1 (localhost) set as one of the DNS servers. I told you that this was a quick 'n dirty guide!
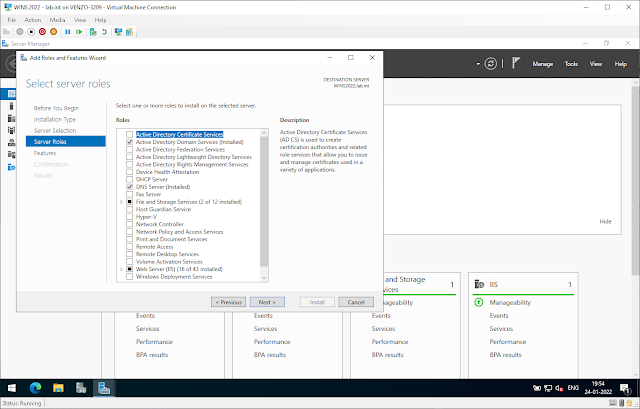
Now back Server Manager, click on Manage > Add Roles and Features > Next > Next and install the following roles:
- Active Directory Domain Services
- DNS Server
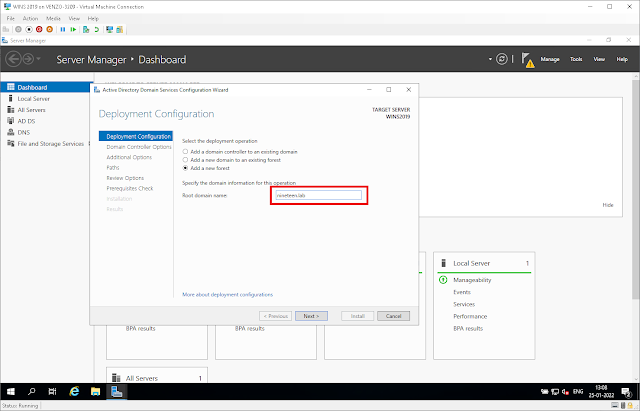
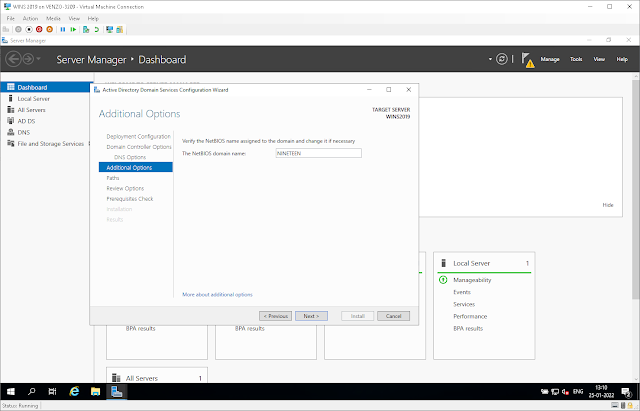
The NetBIOS domain name should be populated automatically with the domain name we made for the forest. It might take a minute.
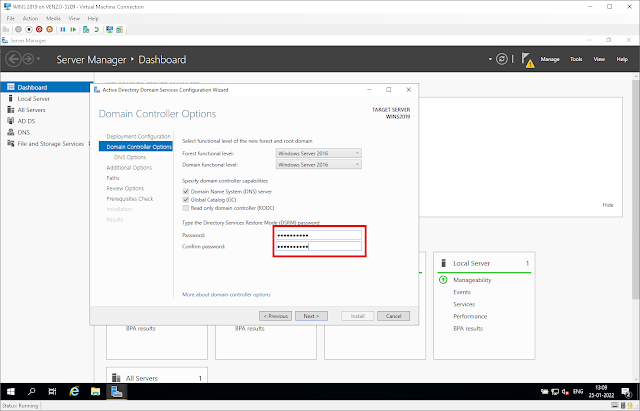
Best practice for the default locations of the AD DS database files would normally be storing them on a seperate disk (e.g. D:\Windows\NTDS and D:\Windows\SYSVOL) but honestly I don't bother with that when it comes to homelabs. In production environments? Oh yes. Definitely.
Since they contain some pretty important things and you'd be saving yourself a headache incase you found yourself in a situation where you need to wipe the OS drive for a reinstall. And if you only had the one DC while you found yourself in that situation then...
Doesn't matter for now! 😝

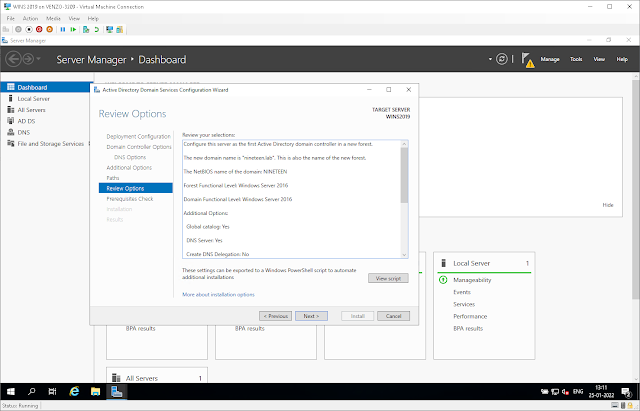
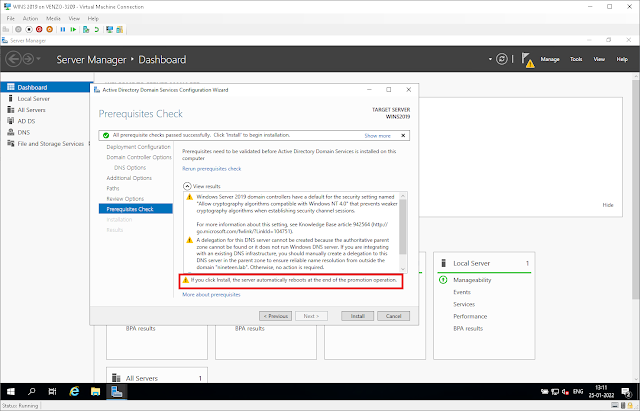
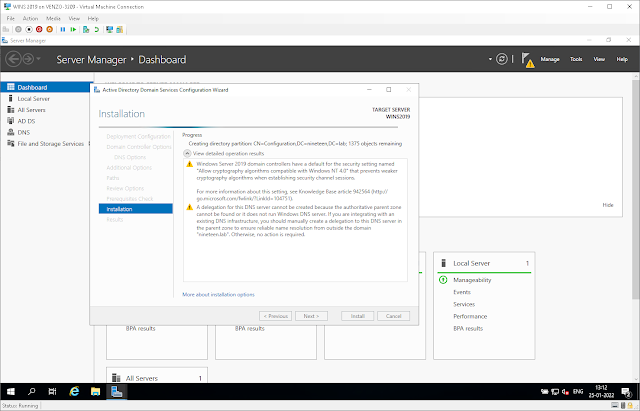
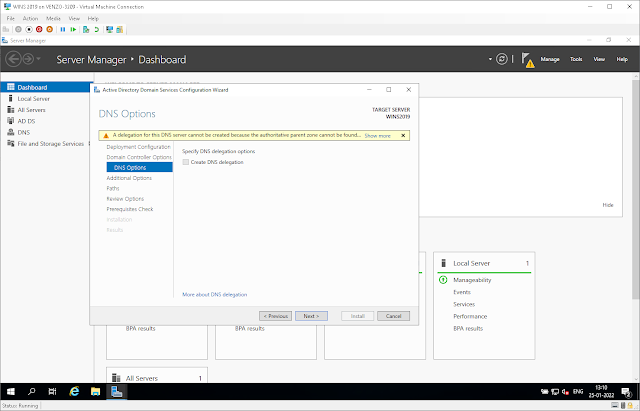
From this point on, just click next until you finish the wizard. A quick 'n dirty Active Directory Domain Controller!